

Resize Canvas To Fit Image Photoshop
When you're working in Photoshop, you're often working with a variety of images in different formats and sizes. Therefore, you've got to adjust the image on your screen to be able to work on it properly. The best way to get started is to fit the image to your screen or canvas to see what you're working with.
To quickly fit an image to your screen in Photoshop, go to View > Fit On Screen to fit your entire canvas to your screen. Alternatively, you can press Command + 0 (Mac) or Control + 0 (Windows) to fit your image to the screen instead.
In this post, you'll learn the ins and outs of how to fit your image to your screen or canvas in Photoshop. You'll also learn how to trim away transparent pixels with ease and use Photoshop's screen modes such as Full Screen like a pro.
Let's get started!
How To Fit An Image To Your Screen In Photoshop
To get started, load your image into Photoshop, then click View in the menu bar and select Fit To Screen from the dropdown menu.

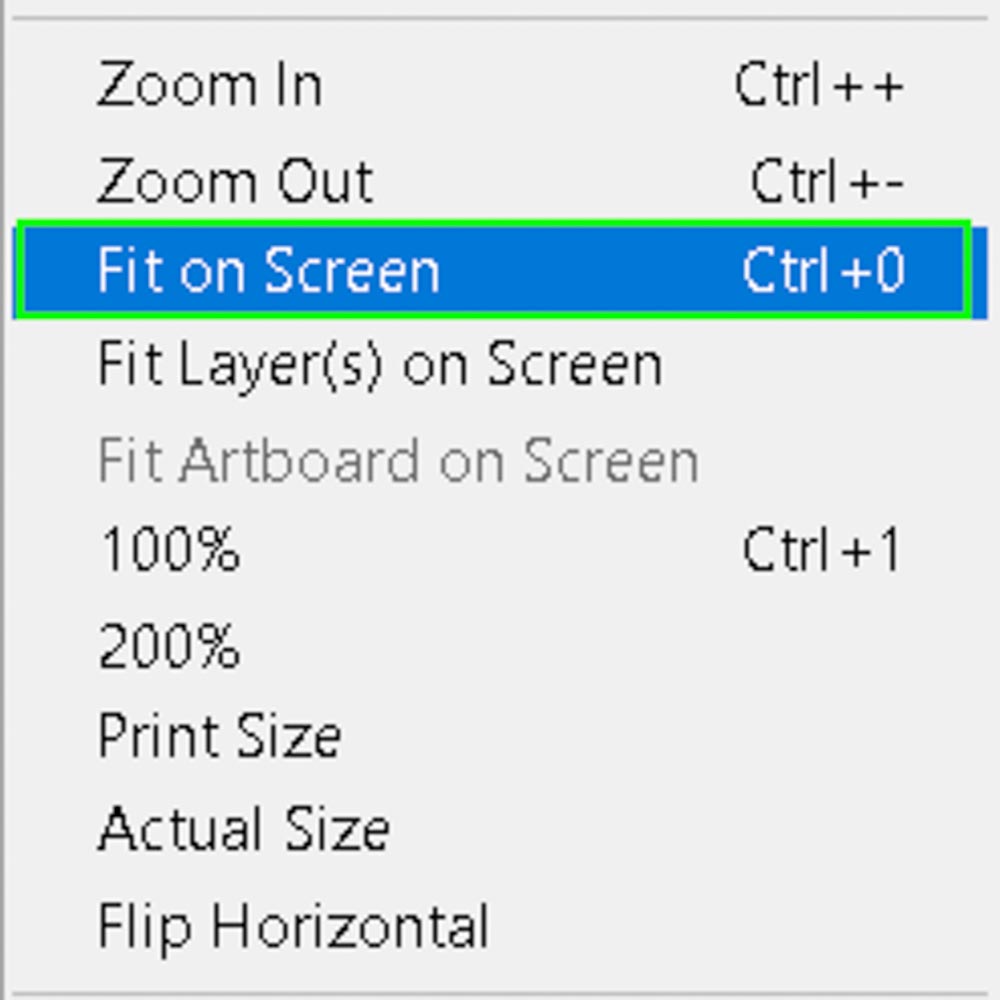
This will adjust the image to your screen, so if it is smaller than the screen, it will enlarge the image so that it takes up the empty space in your Photoshop workspace.
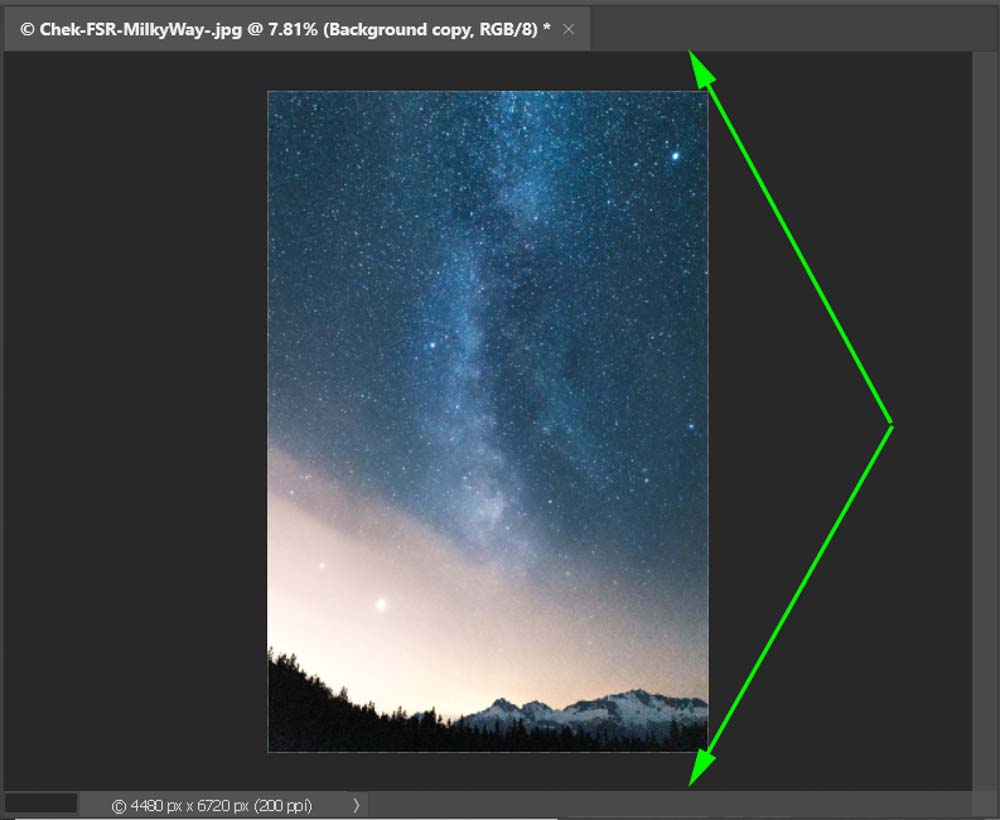
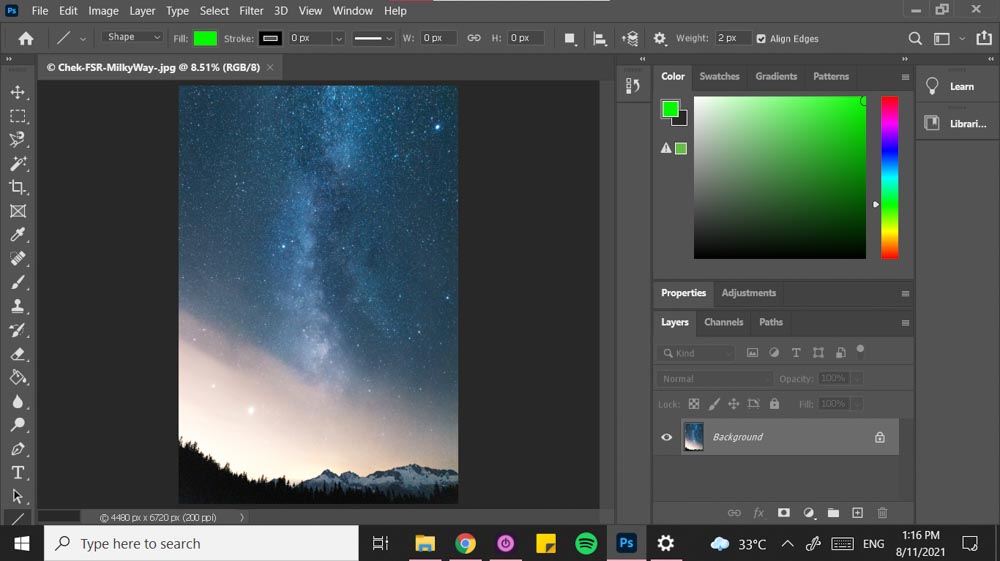
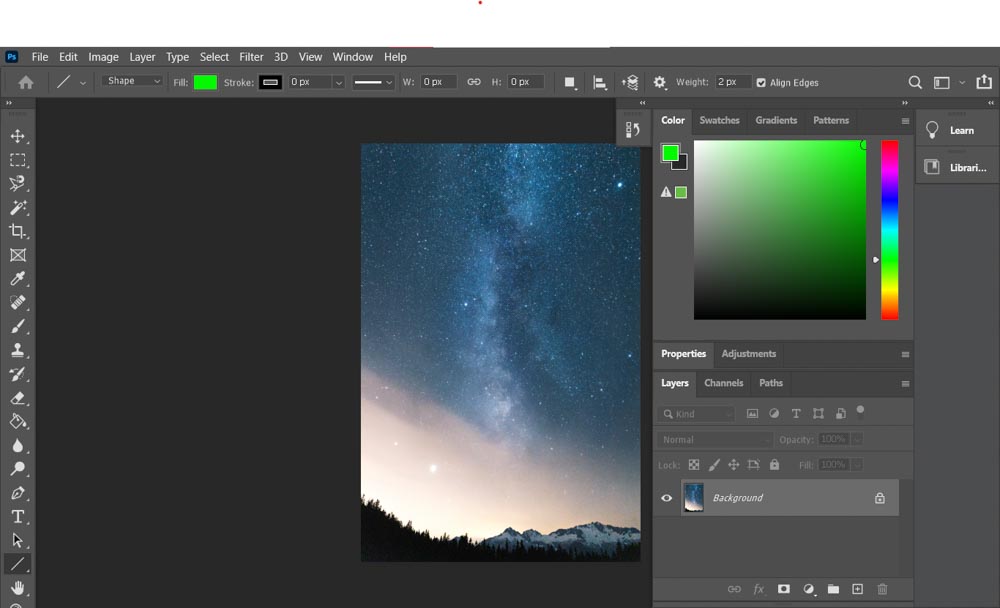
Here you see the image in the workspace, however, there's space above and below it.
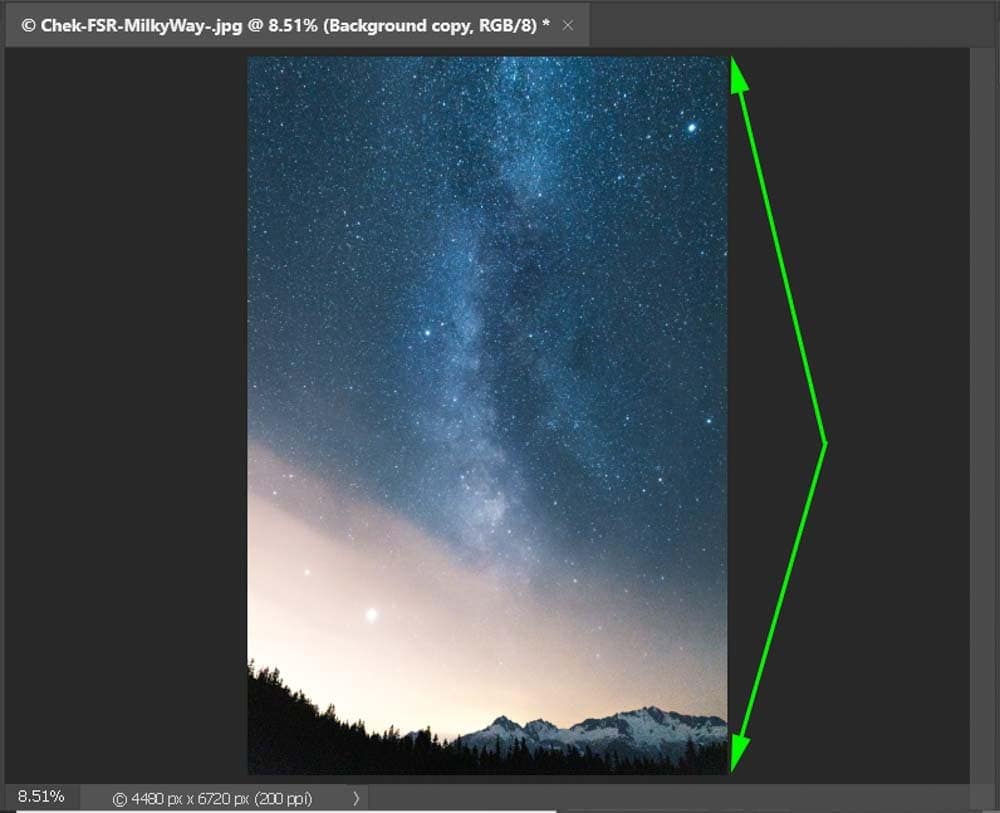
When you use the Fit To Screen option, that empty space is then filled by the enlarged image, like what you see below.
The Fit Image To Screen Keyboard Shortcut
When you want to use the Fit To Screen function in Photoshop, you don't have to use the View option that's found in the menu bar. You can also use the shortcut, Control + 0 on Windows or Command + 0 on Mac.
The shortcut saves time and allows you to remain in the zone when you're working on any project in Photoshop.
How To Fit Your Canvas To Your Image
Sometimes your canvas is larger than the image you've imported into Photoshop, but you don't need all of that extra space. Here's how you can get rid of that extra space with ease.
Extra space on the canvas is known as transparent pixels because it has no actual color or image data. It is shown as a white and gray checkered pattern.
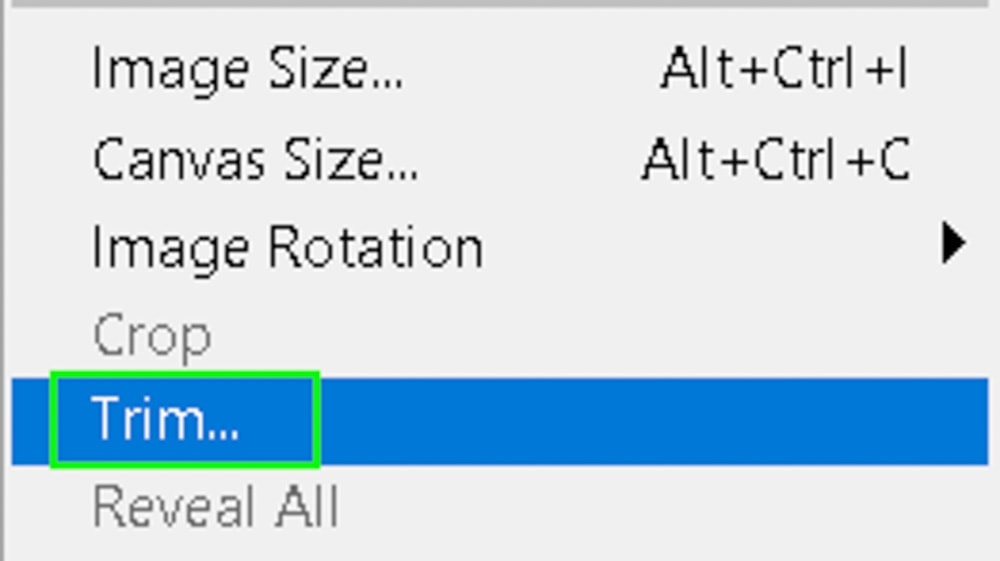
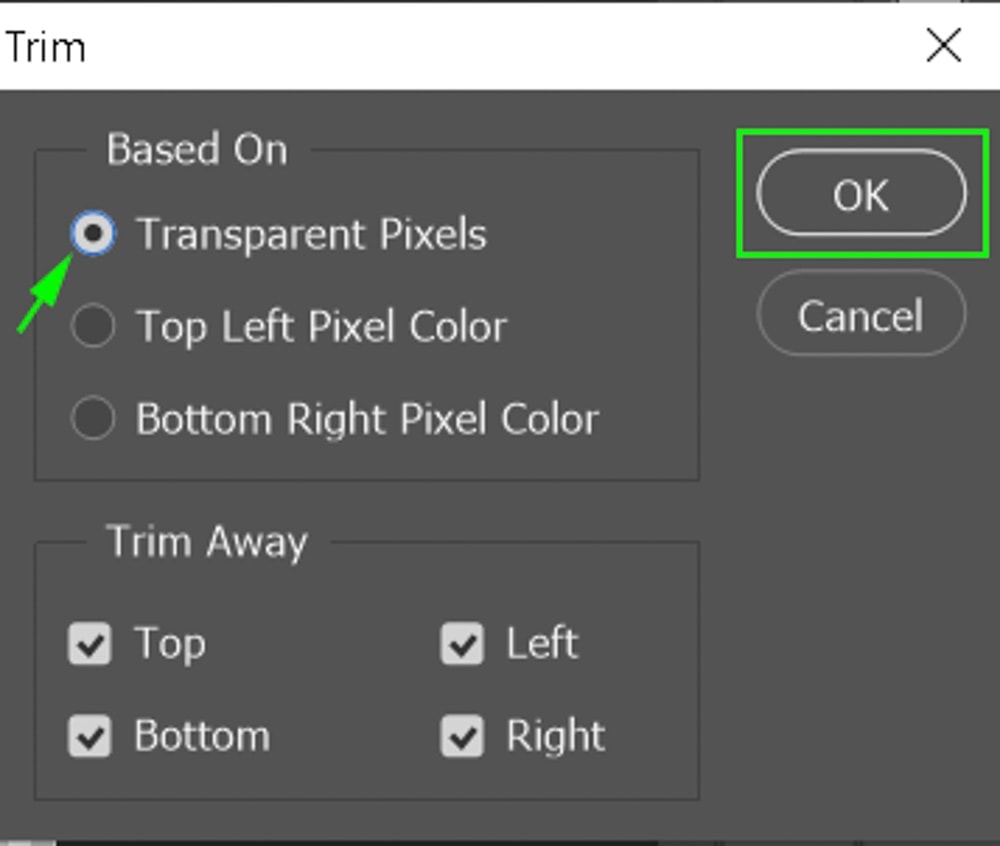
First, click Image in the Menu Bar, and from the dropdown menu, select Trim.

A popup window will appear showing you the settings to trim, it will automatically have "Transparent Pixels" selected, leave it that way. If for some reason, Transparent Pixels is not selected, then select that option.
It will also have a "Trim Away" section where you will see Top, Bottom, Left, and Right selected, this is to ensure all the transparent pixels surrounding the image are trimmed away.
Once everything is selected, click OK to remove all the transparent pixels surrounding your image.
Using the Trim option is a great way to get rid of transparent pixels without affecting your main image or needing to use the crop tool.
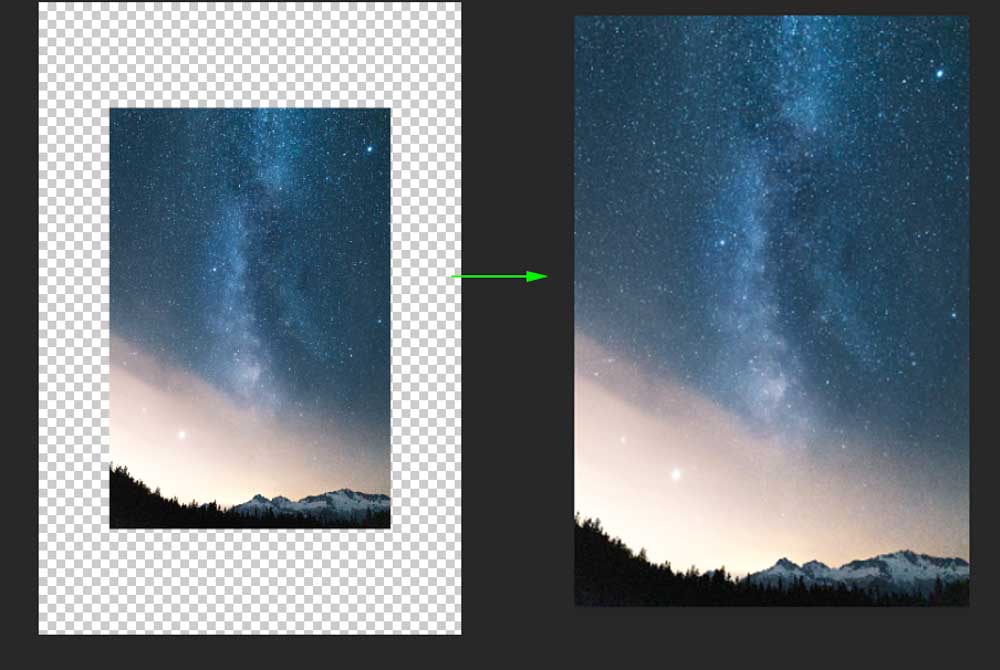
Here's what an image looks like before and after you've used the Trim function to fit your canvas to your image.
How To Fit An Image To Your Screen And Hide Panels
If you prefer working without any distractions, then full-screen mode might be suitable for you.
Photoshop has three Screen Modes:
- Standard Screen Mode
- Full-Screen Mode With Menu Bar
- Full-Screen Mode
Here's how to access Photoshop's Screen Modes:
Click View in the Menu Bar and from the dropdown menu, hover your mouse over the Screen Mode option.

When you hover your mouse over Screen Mode, another menu will appear to its right, listing the three Screen Modes.

The Standard Screen Mode is the default viewing mode for Photoshop. It will look like this:

Full-Screen Mode with Menu Bar allows Photoshop to take over your entire screen, with the menu bars available like this:

Full-Screen Mode by itself allows Photoshop to take over your whole screen without any of the menu bars available. This mode is great if you prefer working with your whole screen, and you're highly familiar with Photoshop's shortcuts.

While the Menu Bar is a great way to access Photoshop's full-screen mode, it's not the only way. You can use the F key as a shortcut to toggle between the three Screen Modes with ease.
Can You Rescale An Image To Fit Your Canvas Automatically?
When you import an image into Photoshop or transport a new image to your canvas, many times that image doesn't fit it. This is because Photoshop doesn't automatically fit your image to the canvas, so you have to rescale the image to fit your canvas.
Here's how to do it:
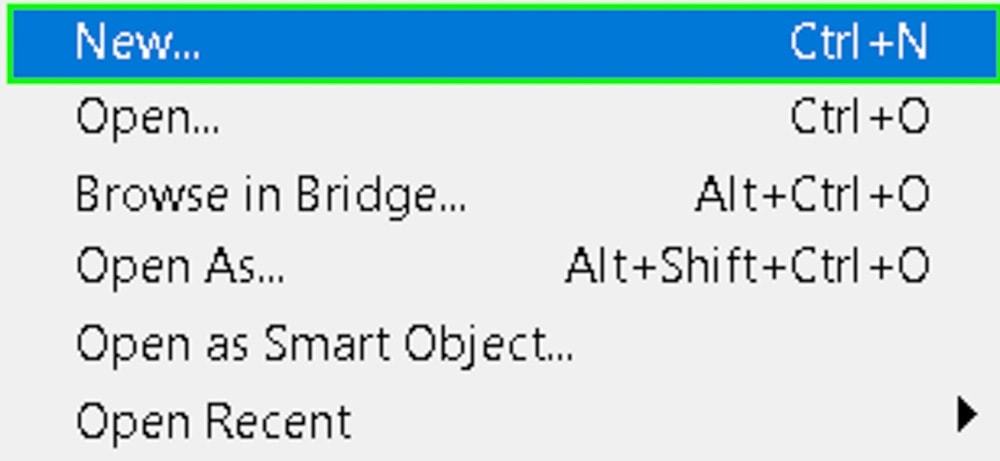
- Open a blank canvas in Photoshop by clicking File in the Menu Bar, then New.

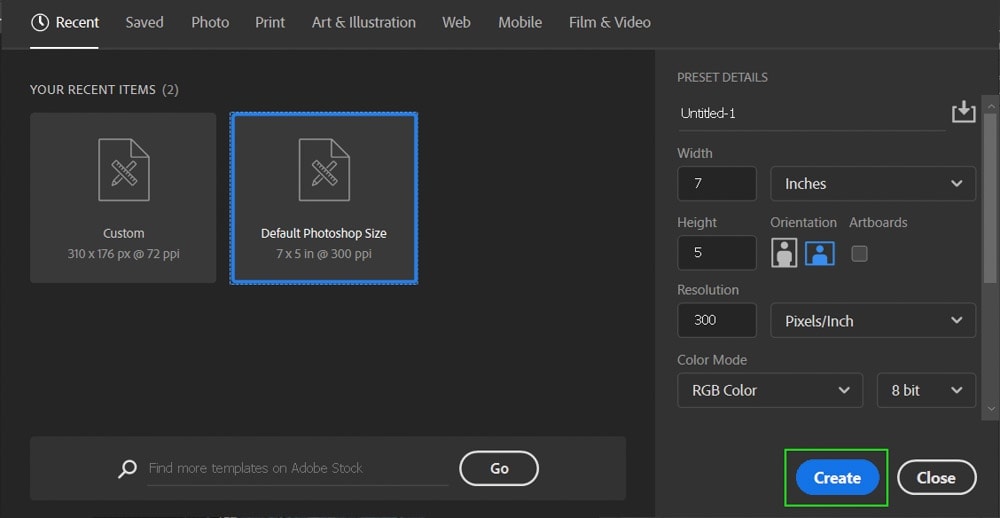
- You'll see a popup window that has the Default Photoshop Size as a file option, select it, then click ok.
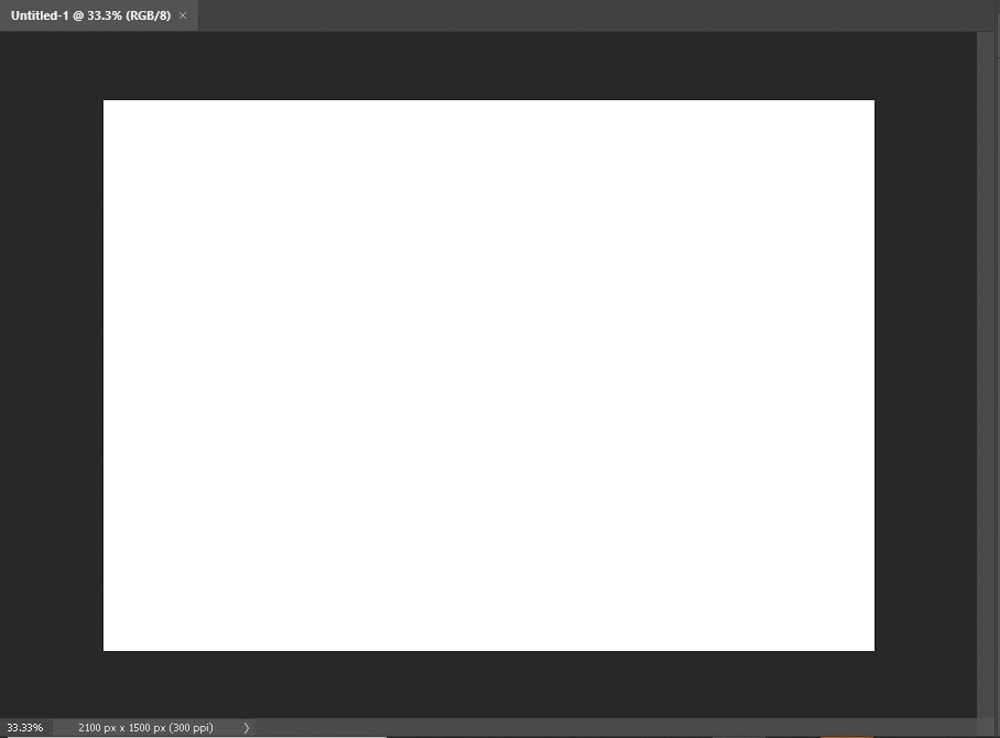
This will create a new blank canvas that will look like this:
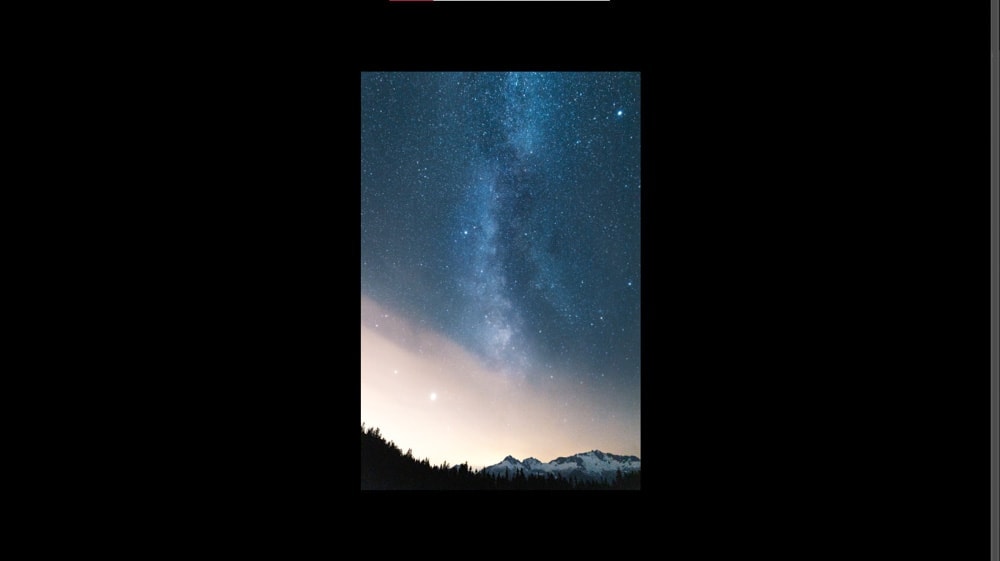
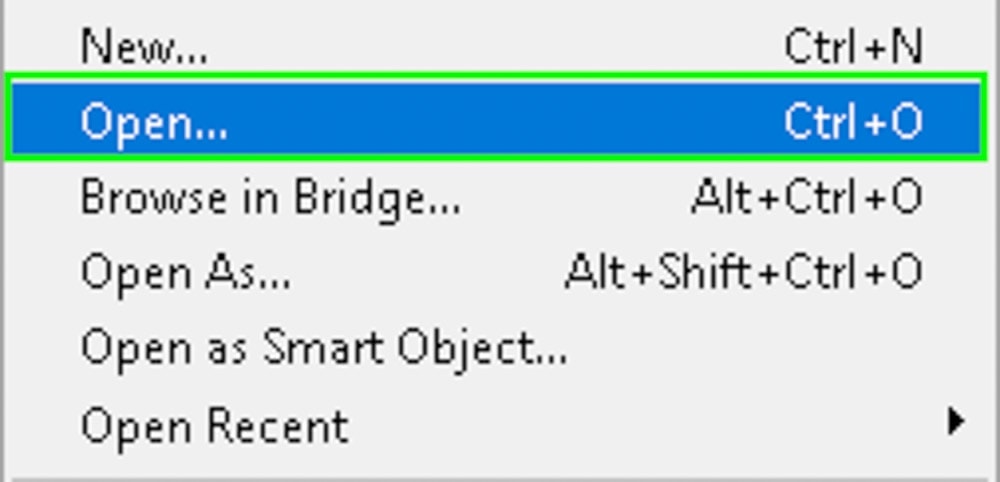
- Next, you need to open the image you want to fit your canvas. Go to the Menu Bar, click File and then open.
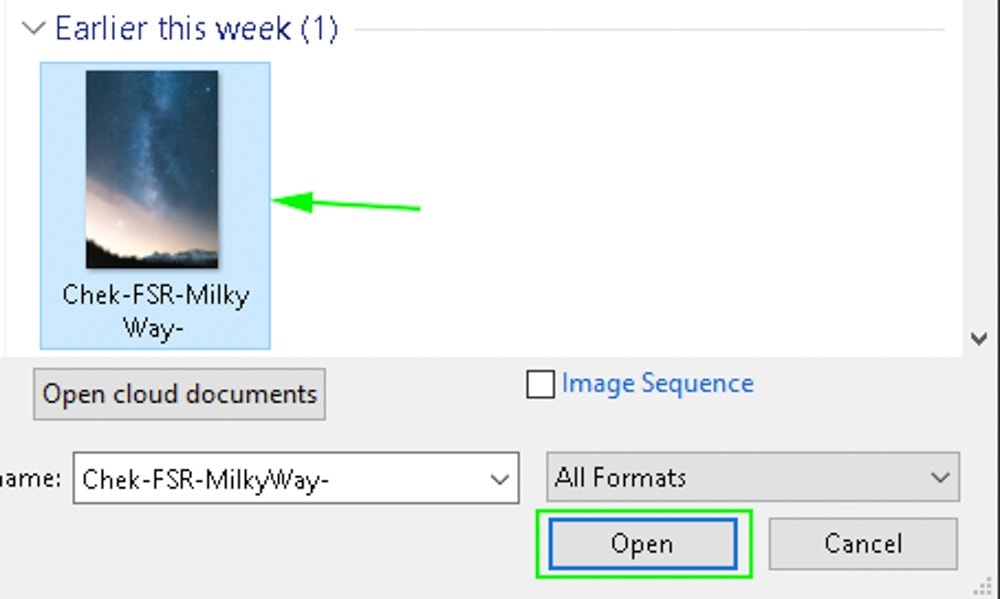
- Search for the image you want to open and open it in Photoshop.
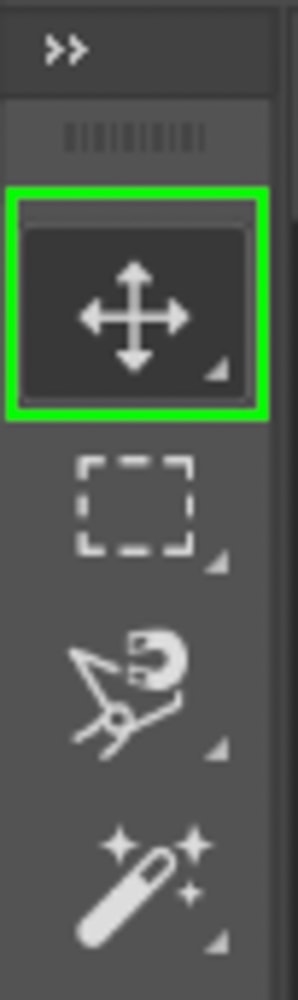
- Go to the new image and select the Move Tool from the Tool Bar (shortcut – V) then click on the opened image and drag it to the blank canvas.
Alternatively, you can also use Control + A followed by Control + C and Control + V on Windows or Command + A followed by Command + C and Command + V on Mac to copy and paste the new image to the blank canvas.
Now that you've loaded the new image onto the blank canvas, you'll see that it's either larger or smaller than the canvas. In this case, the image is larger. But you want it to fit the canvas, that's where the Transform Tool will come in.
This allows you to scale the image (making it smaller or larger) however you want.
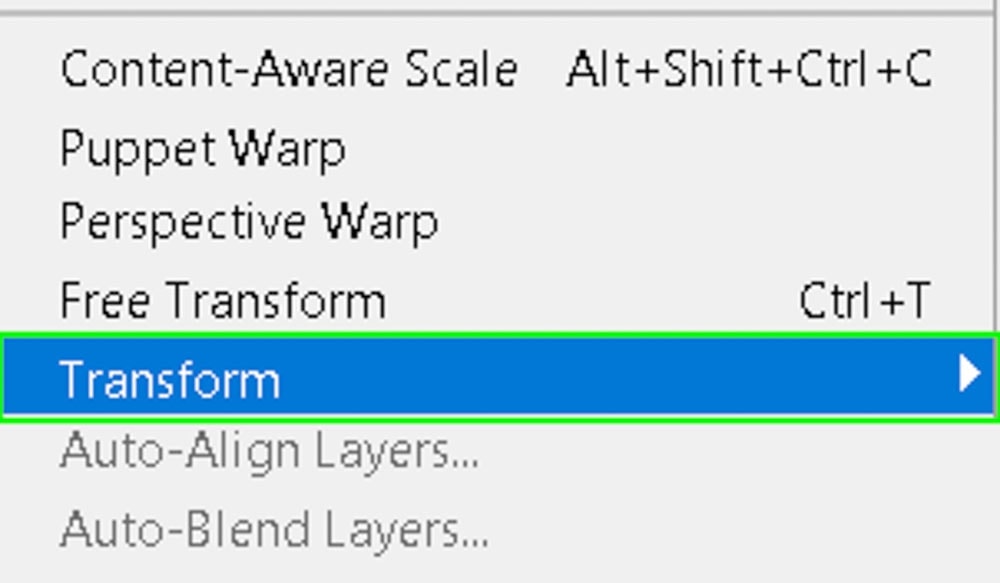
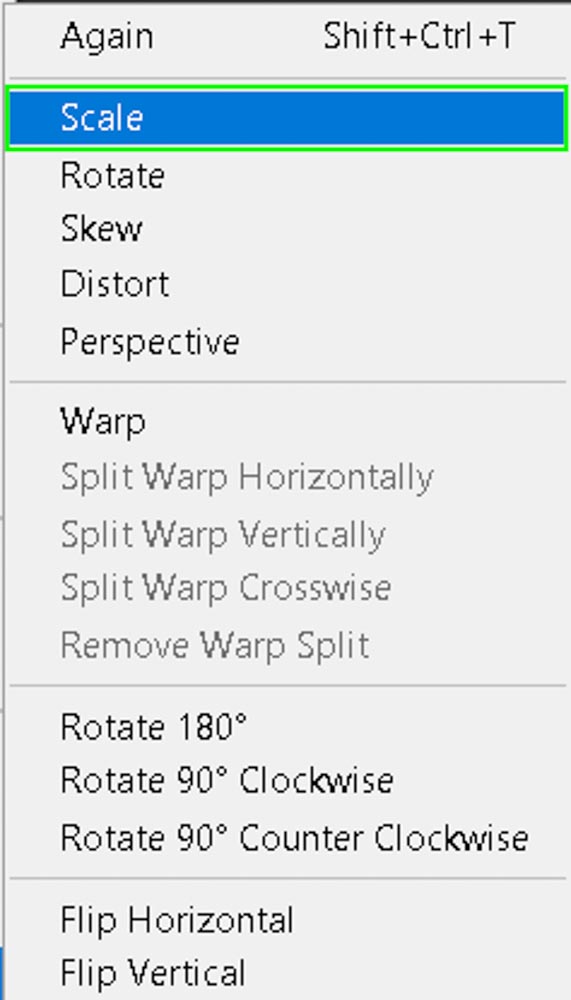
- Select the layer of the new image, then click Edit in the Menu Bar. From the dropdown menu, select Transform, and from the new menu to the right, select Scale. Another shortcut for the Transform tool is Control + T on Windows and Command + T on Mac.

- Zoom out using Control – on Windows or Command – on Mac to view the full size of your image, then scale it to fit your canvas.
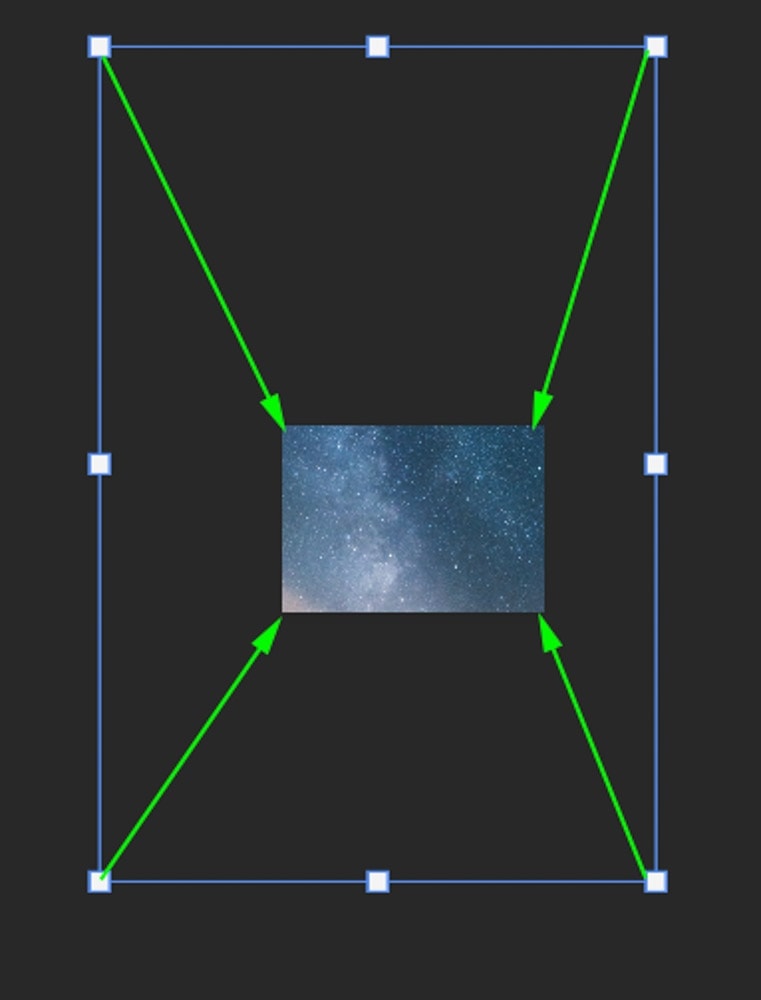
Once you're done, click on the image to complete the transformation and zoom in using Control + or Command + or fit it to the screen using Command/Control + 0.
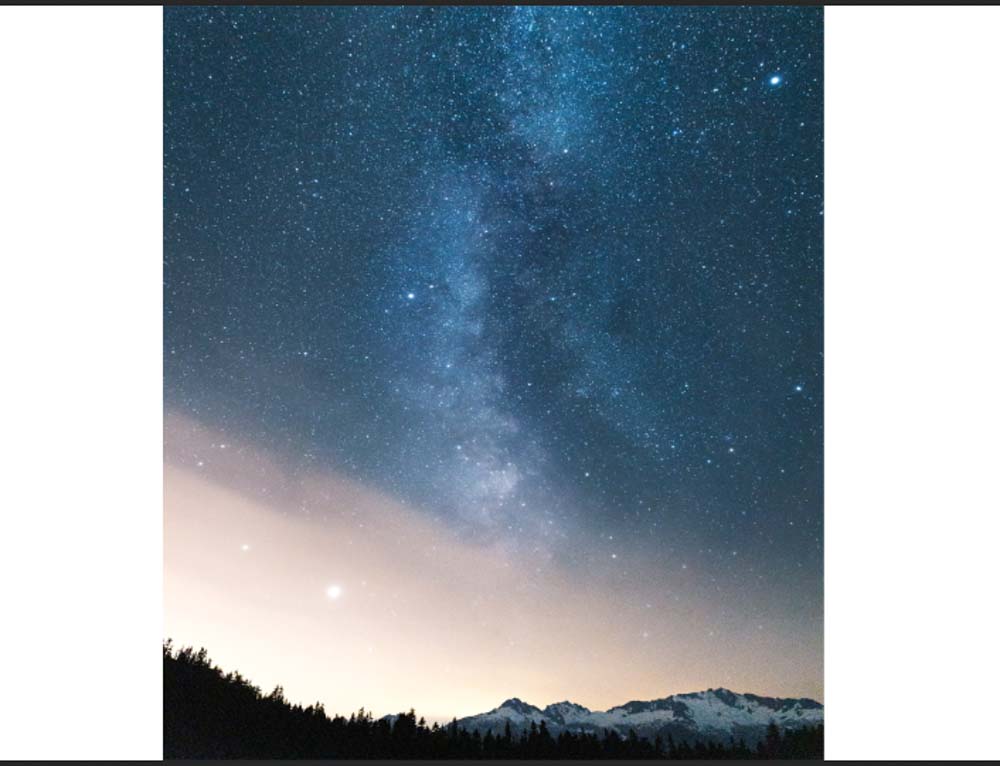
In this case, the vertical photo does not fit inside a horizontal canvas without significant stretching and distortion. That is why there are white borders left on the outer edges of the image. If you were scaling to a canvas that fits a similar aspect ratio to your existing photo, you will not have this occur.
How To Embed Your Image To Your Canvas
While the Transform Tool is a great way to rescale your images to fit your canvas, it's not the only way to do this.
Another method is by using the Place Embedded function in Photoshop to import an image that fits the Height of the canvas (the width would have to be rescaled manually.)
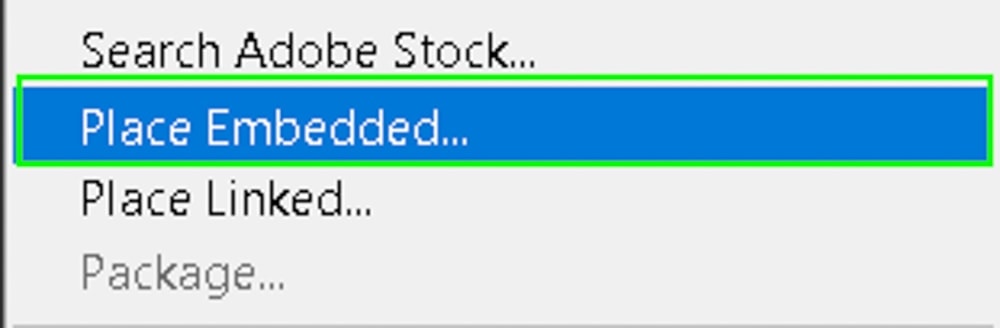
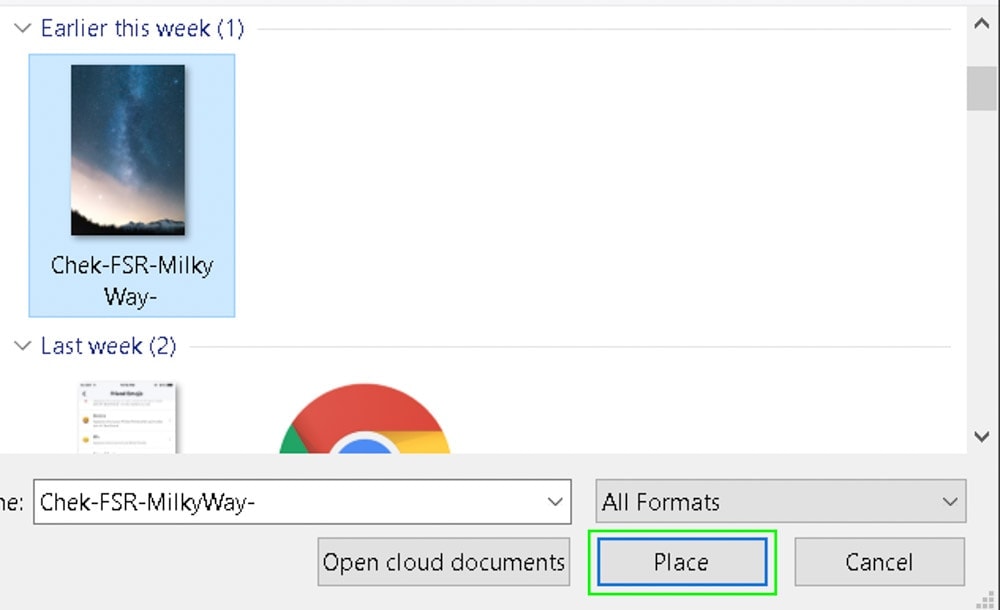
First, start by creating a blank canvas, then clicking File in the Menu Bar and selecting Place Embedded from the dropdown menu.
A popup window will appear where, so you can choose the image you want to embed on your canvas. Select the image and then click Place to embed the image onto your canvas.
The image will then be imported as a Smart Object. This means you'll be able to scale the image without losing any of the pixel quality whether you enlarge or shrink the image's size.
Here's what the imported image would look like on the canvas:
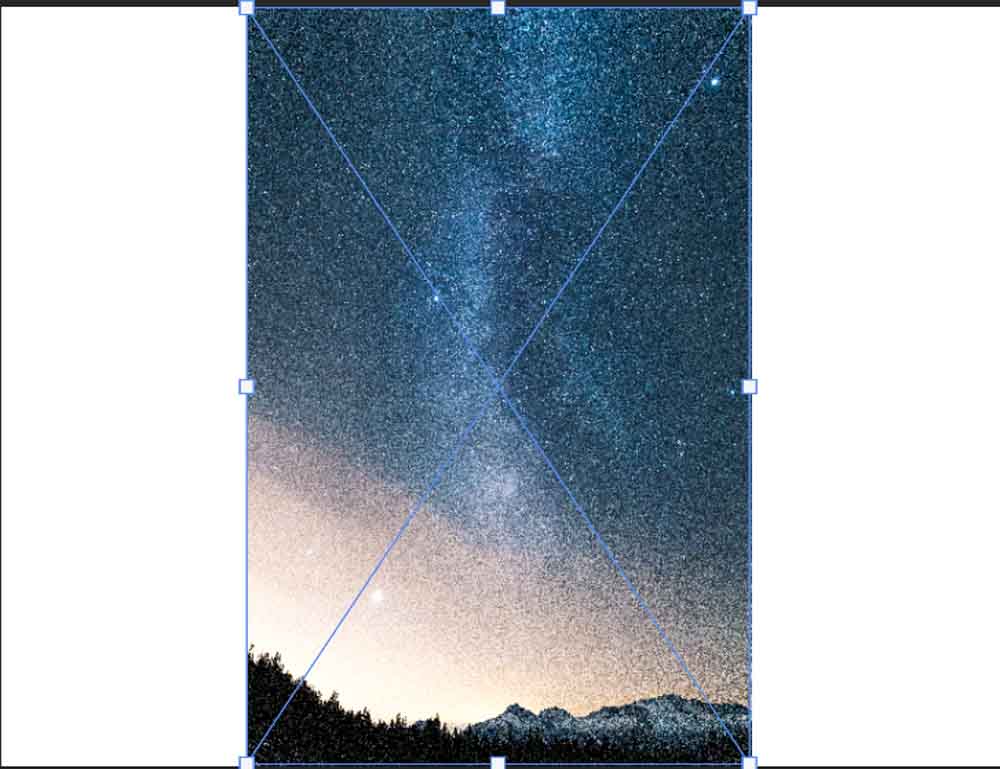
The imported image will fit the canvas according to its highest dimension, so if it has a portrait orientation (meaning the height is longer than the width, like the one in this tutorial), the height will fit the canvas' height. However, if the image has a landscape orientation (the width is longer than the image's height) then the width will fit the canvas's width.
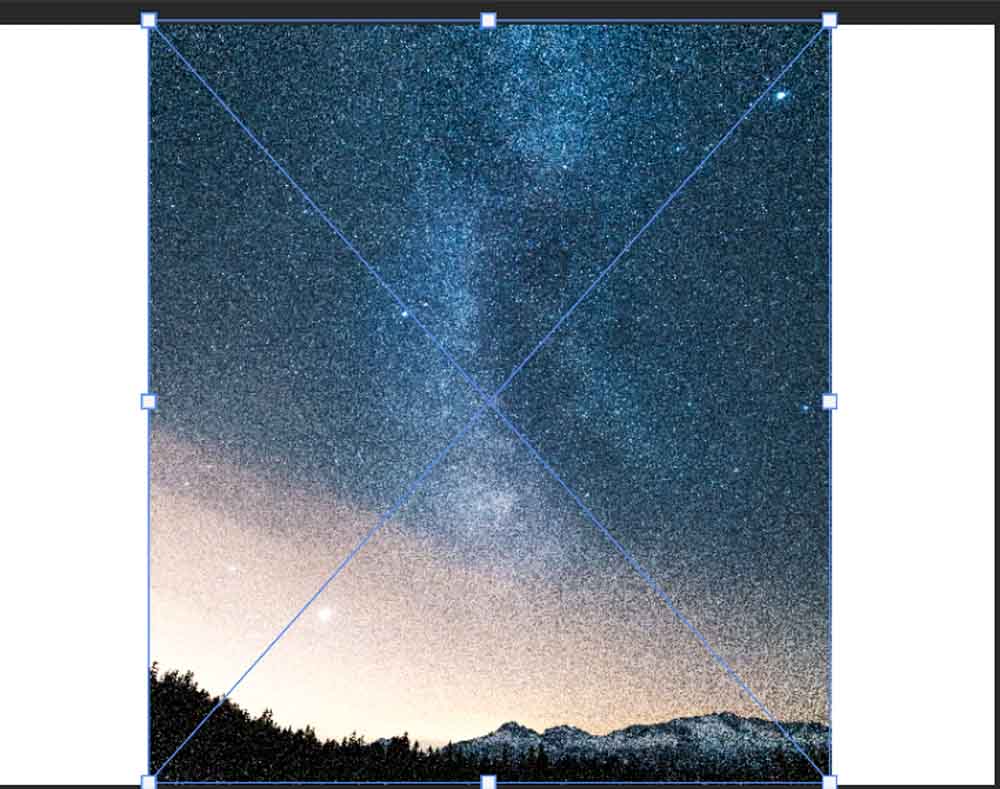
As you can see from the screenshot, the imported image is ready to be scaled as soon as it is imported. However, its width and height are linked to maintain its aspect ratio, so you cannot change one without the other.
You can unlink them by clicking the link icon between the W & H in the Options Bar.

Once you unlink them, you can independently adjust the image's height and width. For this tutorial, the image's width was adjusted while the height remained the same.

When you're finished scaling your image and want to use it as a regular layer, you can easily rasterize the layer. This will convert the layer information to pixels, converting the smart object into a regular layer.
To rasterize a layer, go to the layer panel and right-click on the smart object, then click Rasterize Layer from the popup menu.
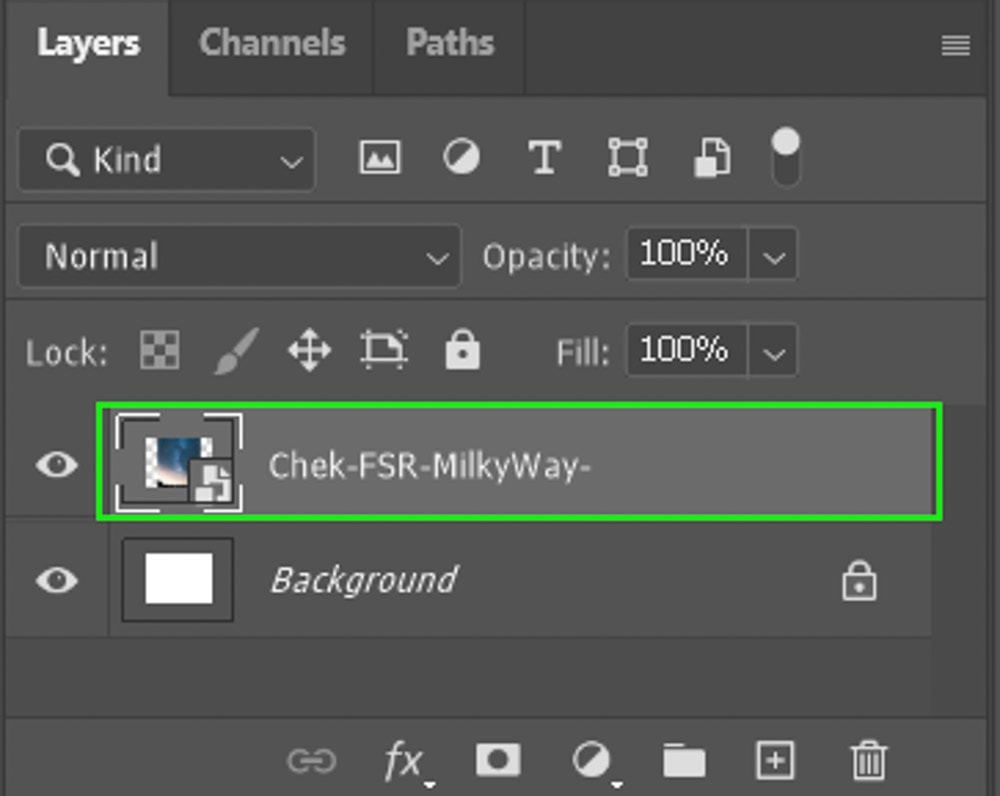

After you've rasterized the layer, you can work on it like any other layer.
As you've learned, Photoshop allows you to fit your image to your screen or canvas in a variety of ways. You can fit your canvas to your image with the Trim tool in a few simple clicks, or you can embed an image onto your canvas for easy scaling and editing. These methods will make your workflow in Photoshop more seamless than they were before.
Happy Editing!
Resize Canvas To Fit Image Photoshop
Source: https://www.bwillcreative.com/how-to-fit-an-image-to-your-screen-or-canvas-in-photoshop/
Posted by: gerstnercappraid.blogspot.com
0 Response to "Resize Canvas To Fit Image Photoshop"
Post a Comment